hey,every one ,很久没给大家分享技术型的文章啦,今天抽时间来一发吧
一. 容我分析(lao dao)几句
之前写了2篇 highcharts 结合 phantomjs 后端生成图片的文章,
http://www.peng8.net/2014/07/21/render-charts-serverside/
http://www.peng8.net/2014/11/24/highchart-table-export-image-by-phantomjs/
第一篇呢,纯后端生成,动态生成json,并将json存在文件中,后端调用phantomjs.exe ,将生成的json文件传入 phantomjs 中。
第二篇呢,是通过前端触发,将页面上的渲染出来的图表和TABLE 整个一起生成一张图片,其实这种也可以放在后端执行。
以上2种方式,都会有个缺点,就是当生成的图片很多,或者请求页面很多时,我们要重复一次一次的去调用phantomjs.exe这个玩意,耗内存,耗时间,直到昨天突然有个群里的人问我,在服务端单独部署一个phantomjs.exe ,开启一个端口,它一直运行着,只要有请求发向它,它就生成一个base64的字符串返回回来,其实官方已经提供了将phantomjs.exe单独部署的方法,于是我研究了一番,最后分享给大家。好了,唠叨结束,接下来我们看看是如何实现的?
二. 服务端 Look here
我用.NET新建一个解决方案,里面包含了2个项目,一个web项目,另外一个是winform项目,当然你也可以弄2个web项目,不影响部署。
<1> 服务端phantomjs搭建
- 一些准备文件
phantomjs.exe和highcharts工具包 - winform界面写出来
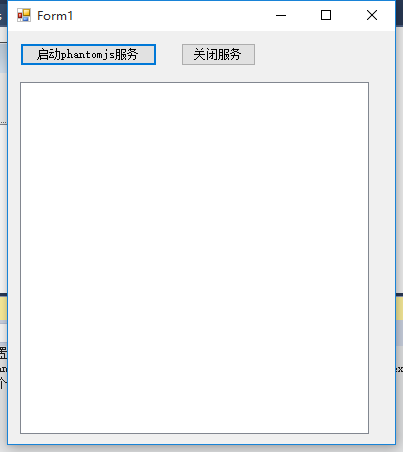
- winform后端核心代码
1
2
3
4
5
6
7
8
9
10
11
12
13
14
15
16
17
18
19
20
21
22
23
24
25
26
27
28
29
#region 启动进程
Process p = new Process();
p.StartInfo.FileName = Environment.CurrentDirectory + "//phantomjs//phantomjs_1.9V.exe";
string ExcuteArg = Environment.CurrentDirectory + "//script//highcharts-convert.js -host 127.0.0.1 -port 3003";
p.StartInfo.Arguments = string.Format(ExcuteArg);
p.StartInfo.CreateNoWindow = false;
p.StartInfo.UseShellExecute = false;
//重定向标准输出
p.StartInfo.RedirectStandardOutput = true;
//重定向错误输出
p.StartInfo.RedirectStandardError = false; ;
p.StartInfo.WindowStyle = ProcessWindowStyle.Normal;
string[] result = { };
if (!p.Start())
{
throw new Exception("无法启动Headless测试引擎.");
}
result = p.StandardOutput.ReadToEnd().Split(new char[] { '\r', '\n' });
if (result.Length == 0)
{
result[0] = "已成功启动,但无数据";
}
foreach (string s in result)
{
list_Msg.Items.Add(s);
}
#endregion
<2> web端搭建及如何调用phantomjs
- web页面搭建
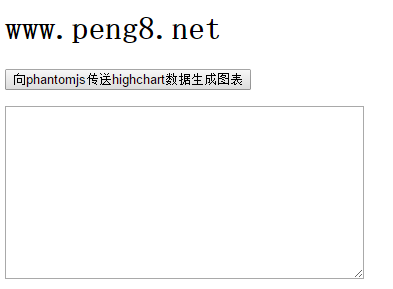
实际上这个步骤可以省略,只是为了展示返回的数据而已,毕竟可以纯后端生成。 向phantomjs 发起post请求的核心代码
1
2
3
4
5
6
7
8
9
10
11
12
13
14
15
16
17
18
19
20
21
22
23
24
25
26
27
28
29
private string HttpPostNew(string Url, string postDataStr)
{
HttpWebRequest request = (HttpWebRequest)WebRequest.Create(Url);
request.Method = "POST";
request.ContentType = "application/x-www-form-urlencoded";
request.ContentLength = Encoding.UTF8.GetByteCount(postDataStr);
Stream myRequestStream = request.GetRequestStream();
StreamWriter myStreamWriter = new StreamWriter(myRequestStream, Encoding.GetEncoding("gb2312"));
myStreamWriter.Write(postDataStr);
myStreamWriter.Close();
HttpWebResponse response;
try
{
response = (HttpWebResponse)request.GetResponse();
}
catch (WebException ex)
{
response = (HttpWebResponse)ex.Response;
}
Stream myResponseStream = response.GetResponseStream();
StreamReader myStreamReader = new StreamReader(myResponseStream, Encoding.GetEncoding("utf-8"));
string retString = myStreamReader.ReadToEnd();
myStreamReader.Close();
myResponseStream.Close();
return retString;
}- 按钮的调用代码
1
2
3
4
5
6
7
8
9
10
11
12
string url = "http://localhost:3003/";
string param= "{\"infile\":\"{ xAxis: { categories: ['Jan', 'Feb', 'Mar', 'Apr', 'May', 'Jun', 'Jul', 'Aug', 'Sep', 'Oct', 'Nov', 'Dec']},series: [{ data: [29.9, 71.5, 106.4, 129.2, 144.0, 176.0, 135.6, 148.5, 216.4, 194.1, 95.6, 54.4]}]}; \",\"callback\":\"function(chart) { chart.renderer.arc(200, 150, 100, 50, -Math.PI, 0).attr({ fill: '#FCFFC5',stroke: 'black','stroke-width' : 1}).add(); } \",\"constr\":\"Chart\"}";
TextBox1.Text= HttpPostNew(url, param);
MemoryStream stream = new MemoryStream(Convert.FromBase64String(TextBox1.Text));
Bitmap bmp = new Bitmap(stream);
string randomName = System.DateTime.Now.ToString("yyyyMMddhhssmm") + ".png";
string saveUrl = Server.MapPath("/images/")+randomName;
bmp.Save(saveUrl, ImageFormat.Png);
stream.Dispose();
stream.Close();
bmp.Dispose();
Image1.ImageUrl = "~/images/"+ randomName;
- 按钮的调用代码
三. 效果展示啦

DEMO 下载地址 :点我下载